In our last post, we got our base started by defining a base data model of Organizations, Contacts, and Interactions. In this post, we are going to create a new table to capture leads from a web form and we’ll setup the form itself for our website.
Web Leads
The data quality from web form submissions varies greatly. Duplicates can also be created quite easily. Because of this, we are going to create a new table to triage leads from our web forms and then process those leads into the master tables in our CRM.
We are going to create a new table in our Airtable base called “Web Leads” with the following fields. This is a baseline set of fields. If you are following along and making your own CRM, you can certainly add additional fields to be captured.
| Field Name | Data Type | Description |
|---|---|---|
| Name | Single Line Text | This is the default “Name” field in the table. This will hold the person’s name submitting the lead. |
| Status | Single Select | Because this table is meant to triage incoming leads, we need to track a status on these leads to understand if we have completed processing that lead. For now, we will create the following statuses: * New – this is the default status for incoming records * Assigned – this will be set when we have processed the lead to the proper internal users * Converted – In a future post, we will be converting this lead and bring its data to the main CRM tables (organizations, contacts, etc). The Converted value will indicate that the lead processing has been completed. |
| Organization Name | Single Line Text | Lead’s Company/Organization Name |
| Phone | Phone Number | Lead’s Phone Number |
| Email Address | Lead’s Email | |
| Attachments | Attachment | Keep the default field |
| Notes | Long Text | Keep the default field. You can edit the configuration to allow for Rich Text formatting if you like |
| Created | Created Time | A system field that will document when the record was created |
| Created By | A system field that will document who created the record |
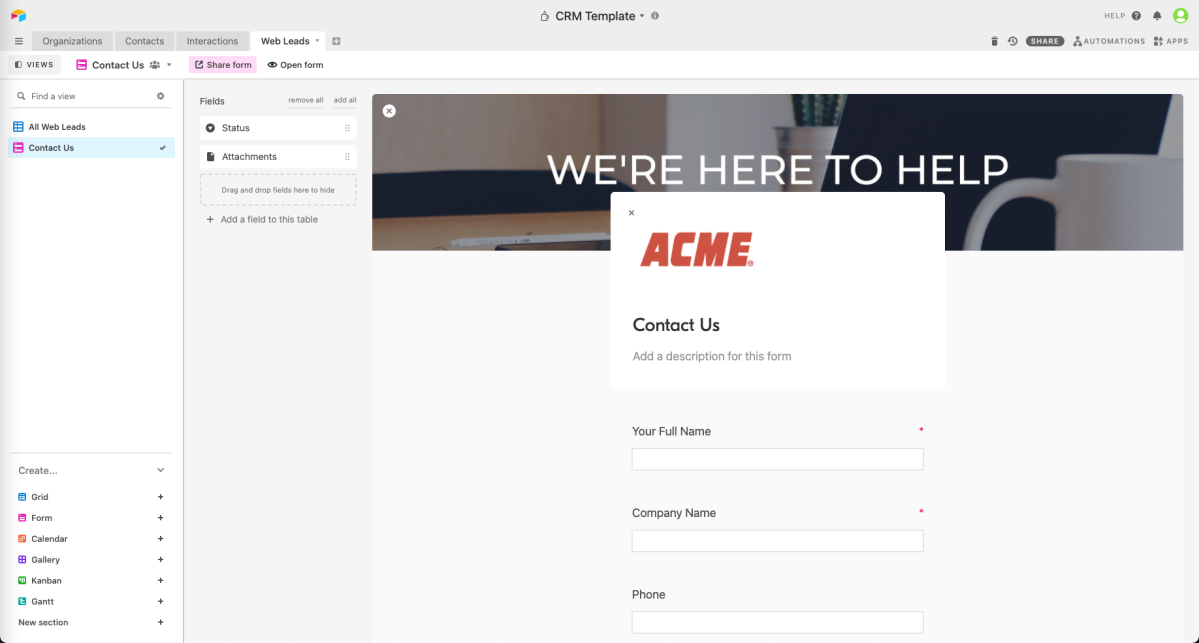
Airtable Form
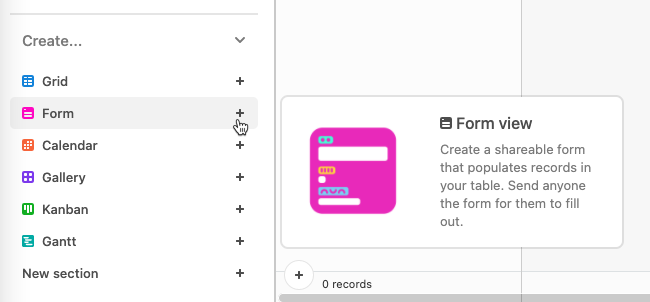
We want to have a form on the web that allows a visitor to submit their contact information to us. We have a couple options for this such as using the built-in Airtable forms or connecting to Airtable using a 3rd party service like Typeform or Google Forms (+ Zapier). Using a 3rd party service like Typeform will provide the end user a nicer experience, but for this post, we are going to use what comes with Airtable and that’s its Form view option. Perhaps in a future post, we will replace this form with one with a better user experience.
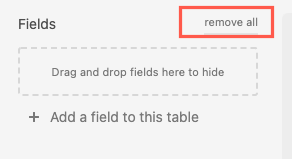
The form will default with all fields displayed on it. I personally like to start my forms from scratch, so I always remove all of the fields from the form and then add them back so I know exactly what will be on there.
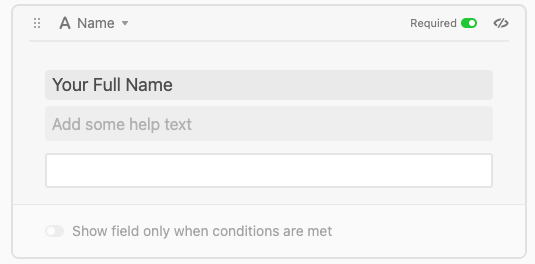
Click on each field from the field picker in the order you want them on the form. You can then edit each specific field where you have the option of changing the label, adding helper text, making it required, displaying it conditionally, and removing it.
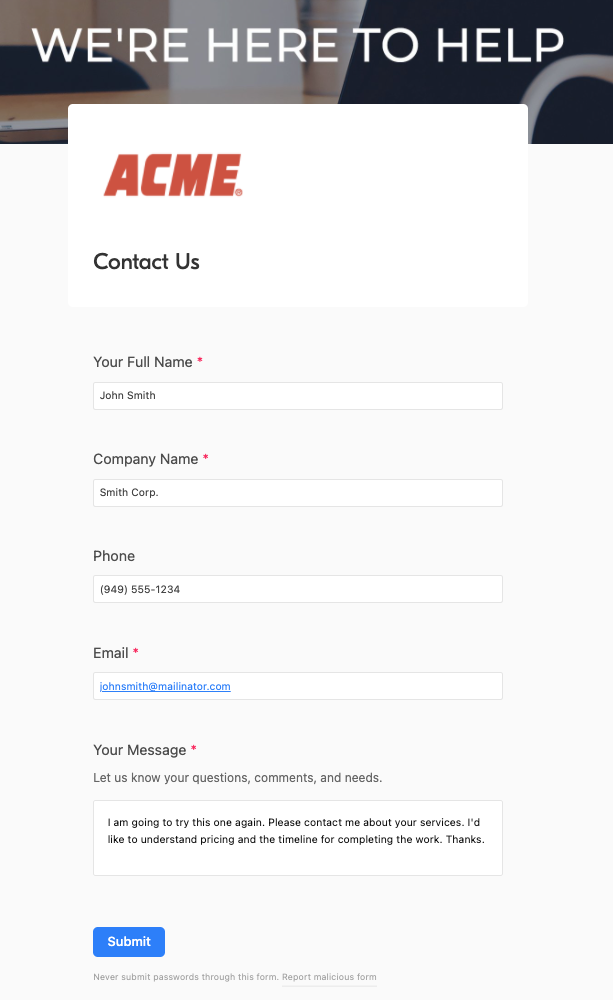
At the top of the form, there are options to change the title and add a logo and header image. For this post, I just picked some images from the web to show as examples. I decided to make all fields required except for the Phone number.

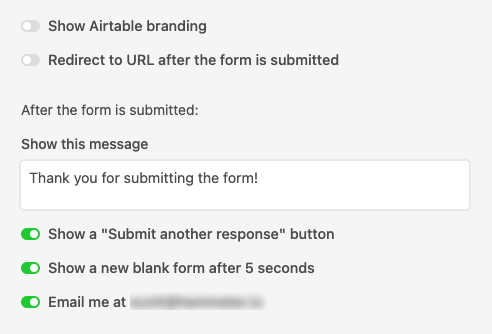
There are some configuration options at the bottom of the form that help dictate how you want it to look, what happens after a submission takes place, and whether you’d like to get notified on new submissions. In this case, I am removing the Airtable branding, keeping the user on the form page after submission but refreshing the page after 5 seconds, and also getting an email notification sent to me.
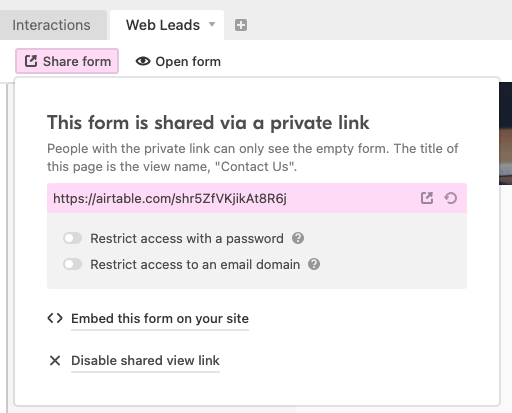
Once you are happy with your form, you can share it. Airtable makes it very easy to share the form via a link and you can also embed it into a page on your website.
Testing the Form
We can now use the link from the Share form option to test our form. Let’s fill out the form, submit it, and see what happens.

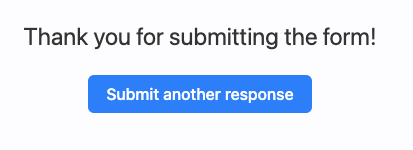
The form has now been submitted.
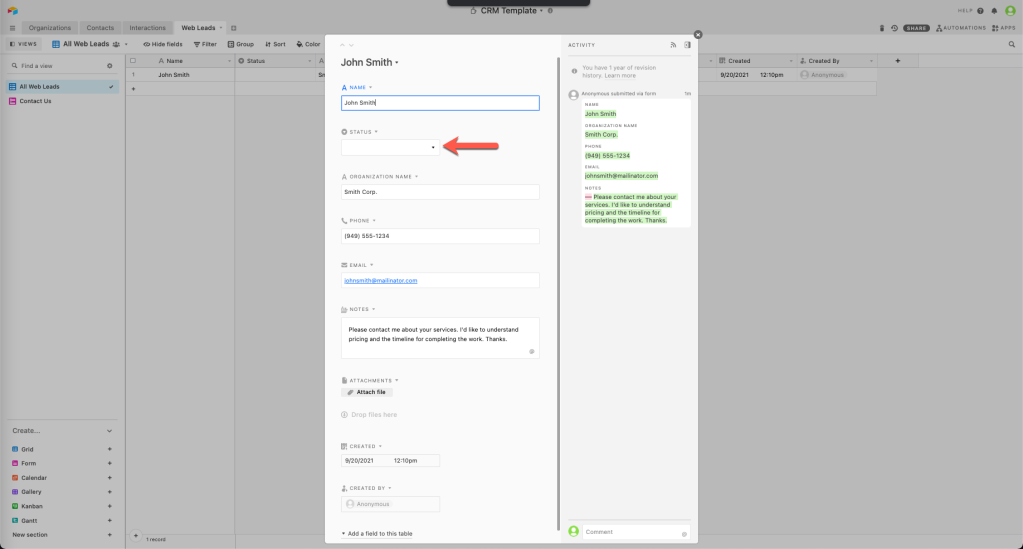
Let’s take a look at the Web Lead in Airtable. As you can see below, all of the lead information from the Form came in, but the Status field is not being populated. When we built the form, we did not want to display the Status field because that’s for internal use only. It would not look right for a website visitor to see that value.
Unfortunately, if you do not display a field on a form, you are not able to configure that field be populated. It would be nice if Airtable provided an option to hide fields, but set default values for them, but they do not at this time.
Automation
We are going to create a simple Automation to get that Status field populated properly. Automations are available in all Airtable pricing tiers.
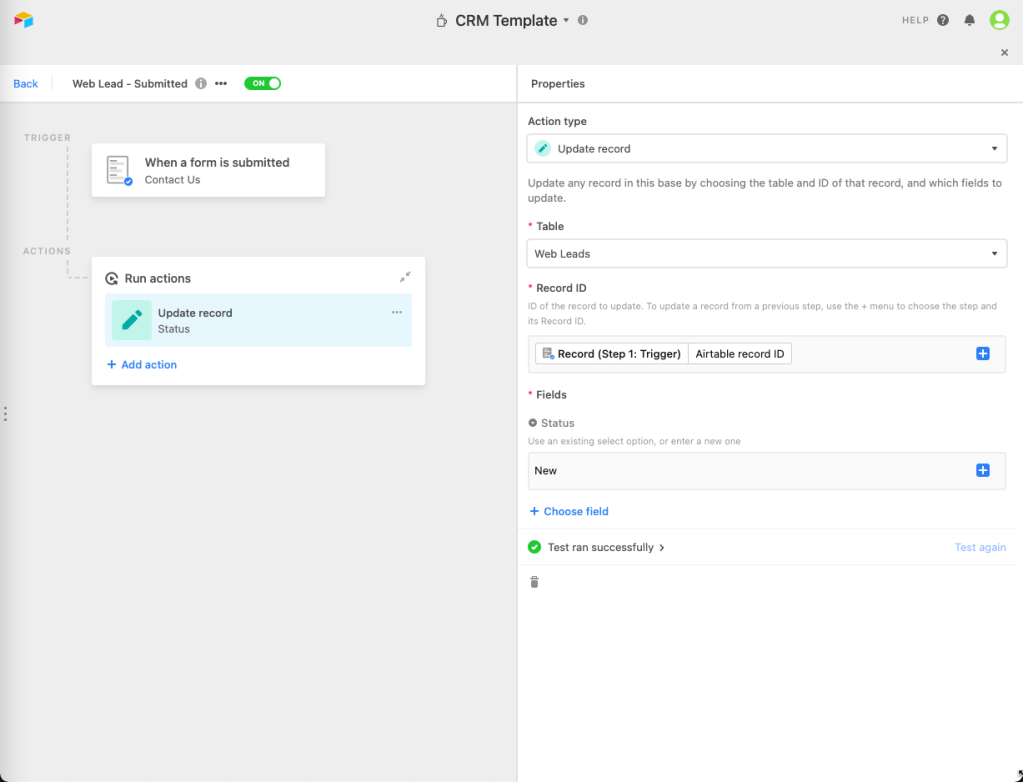
The UX for defining an automation is pretty straightforward, so I won’t go into a ton of detail here. We are naming the Automation “Web Lead – Submitted” and the trigger for it will be When a Contact Us form is submitted. The trigger answers the question of When the automation will execute. The only action that should run is to Update the record from the trigger. As you can see in the image below, we chose the Update record action and are updating the Web Leads table’s Status field. The trickiest part of this is selecting the Record Id value to ensure we update the correct record. To do this, I used the blue + sign to choose the record Id from the record in Step 1. We then tell the Automation to set the status to “New”.
The last thing we do is make sure that the Automation is On (at the top of the screen).
Now we can test it again.
Testing the Form Again
Let’s try this again by filling out the form and submitting it. Hopefully the Automation will run and fill in the Status field.
Let’s look in Airtable at the results… Voila! As you can see, the Automation ran successfully and populated the Status to “New”. This is a pretty simple example, but starts to show you the benefits of Automations on the Airtable platform.

Review
Up to this point, we have done the following in our CRM:
- Created a base set of objects for Organizations, Contacts, and Interactions (the previous post)
- Created a new table to house leads that we capture from our website
- Created an Airtable Form to add to our website that will take in the lead information
- Created an Automation to clean up the lead record to set the Status to New
What will we need to do next? How about…?
- Create a way to track our Pipeline, Wins, and Losses
- Create a process for the assigned user to take action taken on the web lead. We will need to respond to the lead and also organize the web lead data such that it fits into our master data model we created in the previous post.
- We may need some new tables. A web lead is a potential sale and we have not yet created anything to track our Pipeline. We may need something. We also have created an Interactions object to document the Web Lead, but we have not created anything to let me document a To Do and remind me to follow up with the Lead again in a few days.
Comments